
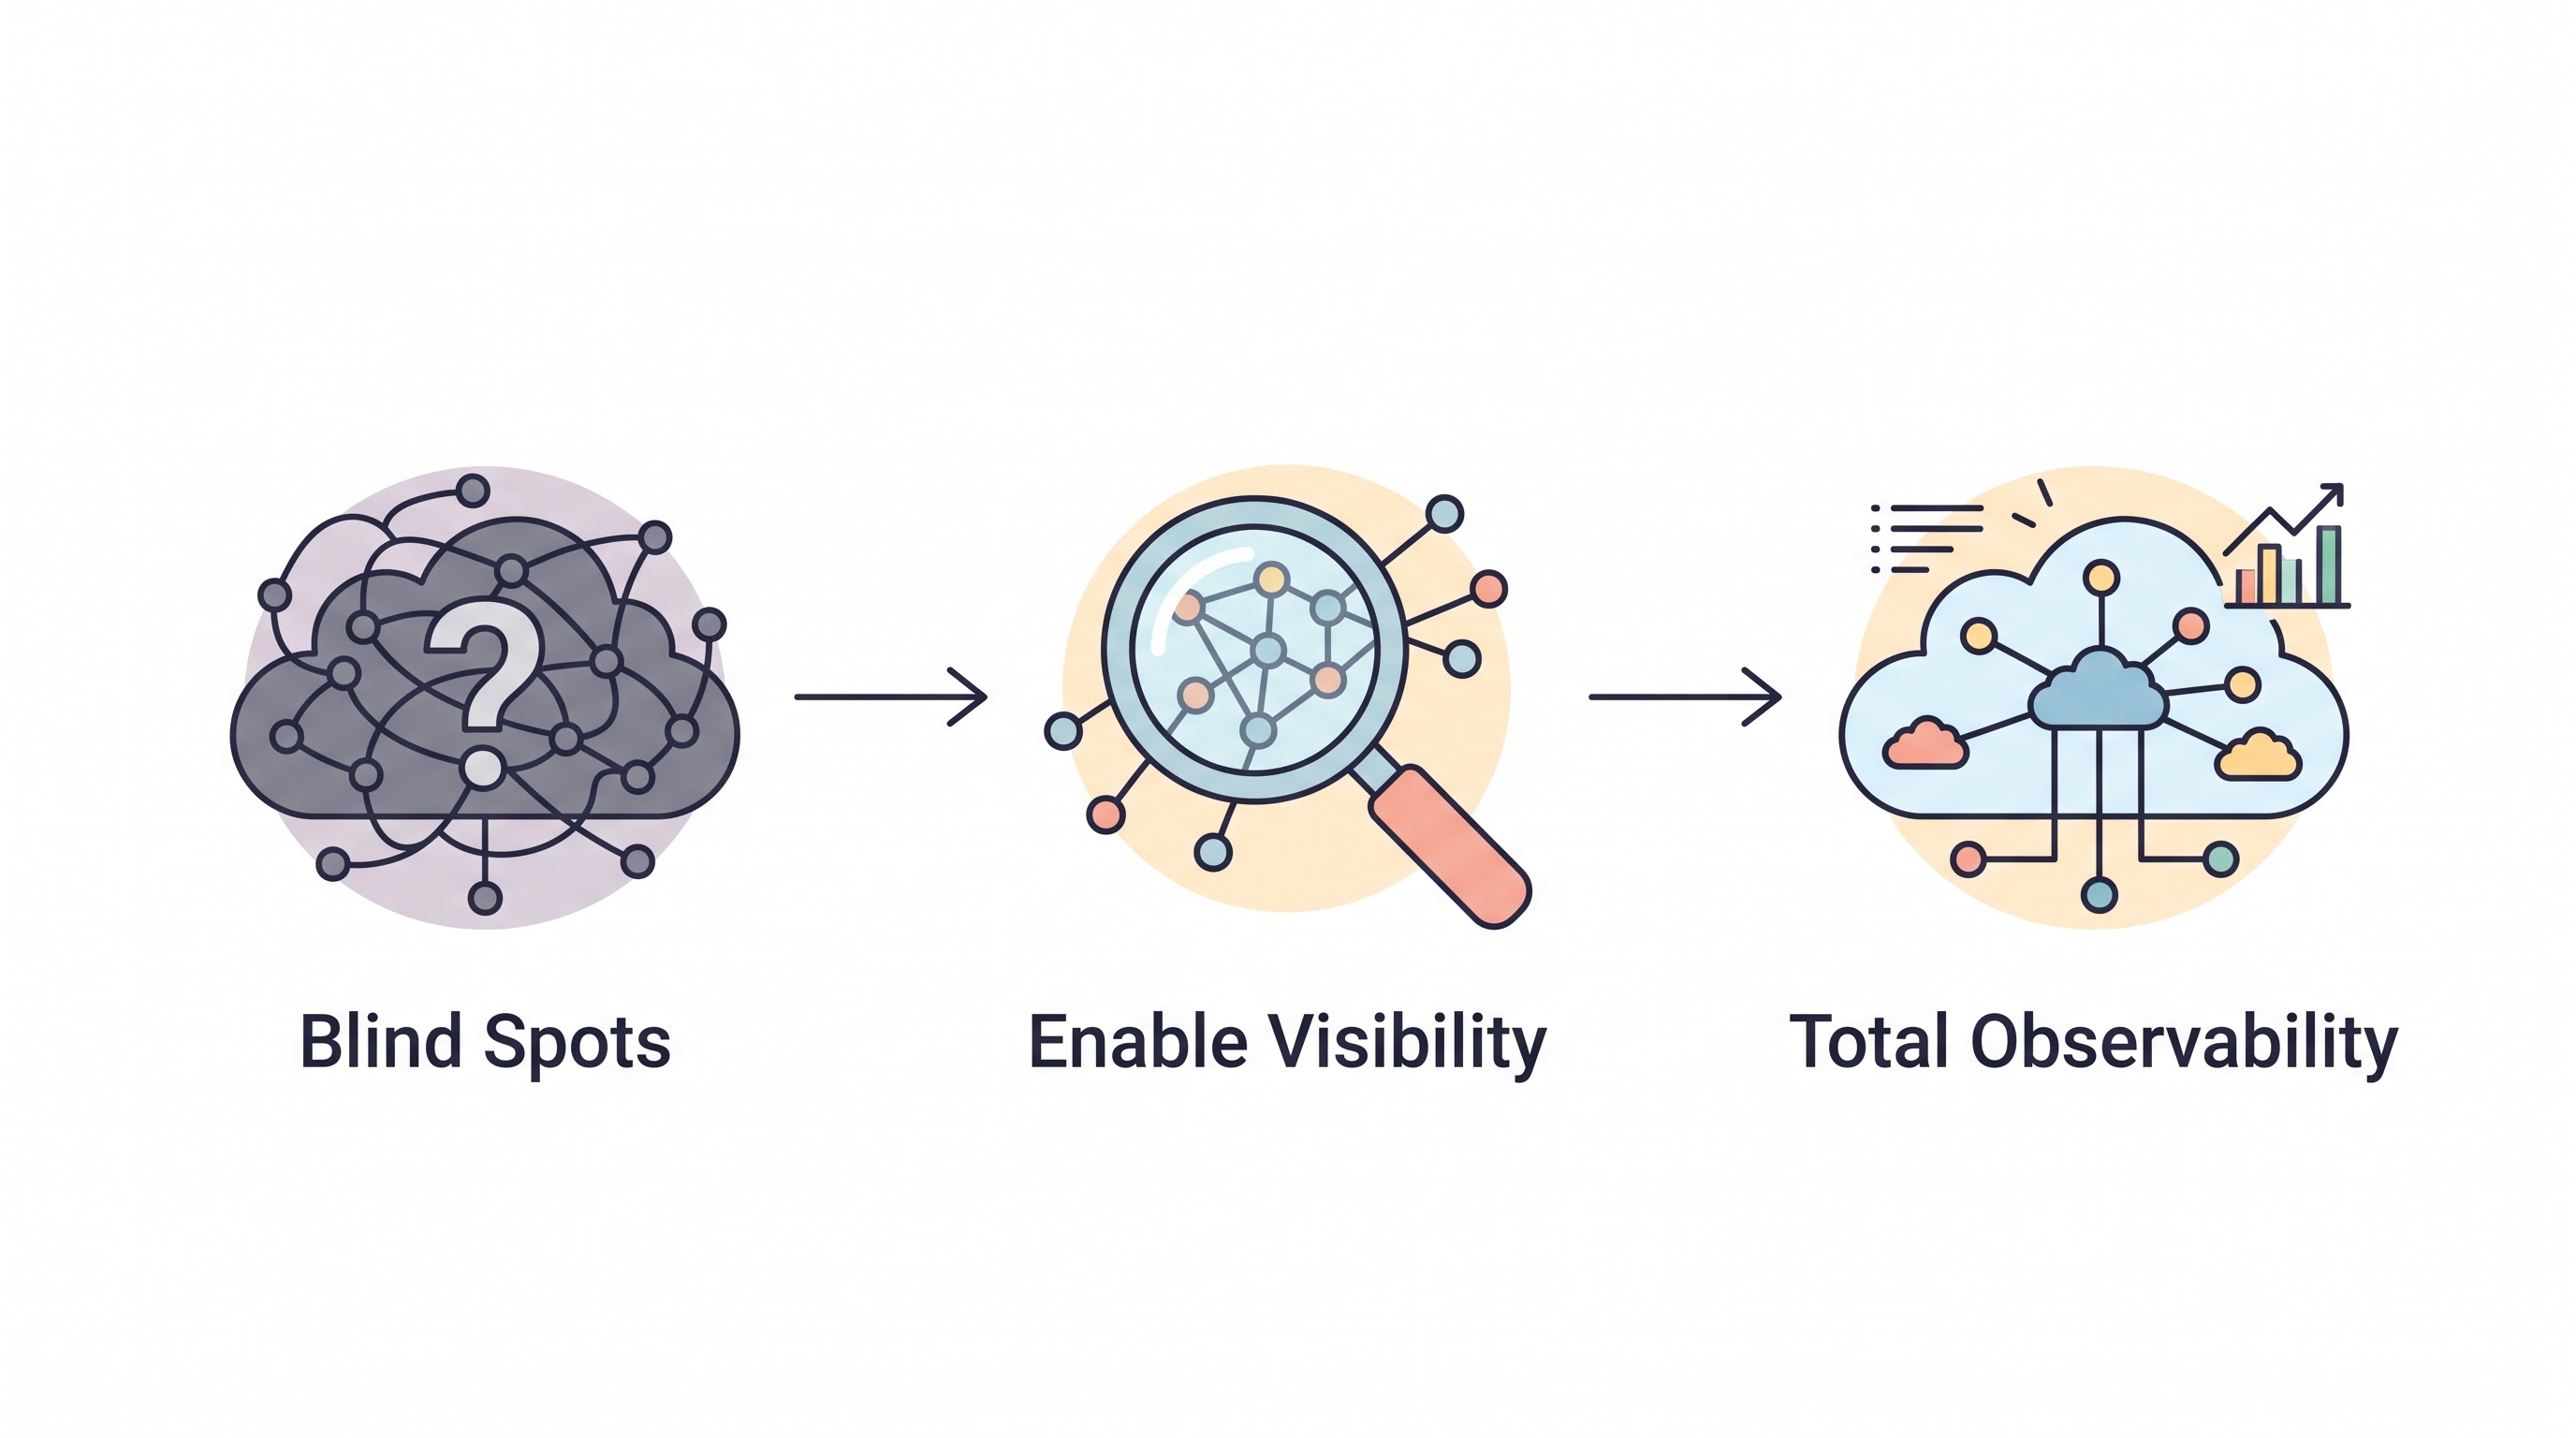
When the Cloud Bill Triggers a Fire Drill
The story almost always starts the same way. Cloud spend was growing gradually — 10% quarter over quarter, easily absorbed by revenue growth — until suddenly it was not gradual anymore. A new product launch tripled compute requirements. An ML experiment left GPU clusters running through the weekend. A migration project provisioned production-grade resources in a staging environment and nobody decommissioned them. The CFO calls. The VP of Engineering calls. Everyone wants answers. Nobody has them because nobody was watching the numbers with operational rigor.
If this describes your current situation, take a breath. You are not alone. The FinOps Foundation estimates that 65% of organizations begin their FinOps journey in response to a bill shock event rather than proactive planning. The good news is that the same environments producing the most alarming bills typically contain the most accessible savings — because nobody has been optimizing. The bad news is that you need to move fast while simultaneously building durable processes that outlast the initial crisis response.
This guide provides a 90-day implementation playbook. It is structured as a week-by-week plan because the early stages of FinOps demand urgency. Later stages, covered in the FinOps Best Practices guide, emphasize sustainable cadence over speed. Right now, you need both: fast action to stop the bleeding, and foundational work that prevents it from recurring.
Week 1: Emergency Triage and Quick Wins
Before you build dashboards or form committees, stop the most obvious bleeding. In the first week, focus exclusively on identifying and eliminating waste that requires no architectural changes and carries zero risk.
Idle Resource Sweep
Log into each cloud account and hunt for resources consuming budget without serving any workload. The most common offenders across AWS, Azure, and GCP:
Unattached EBS volumes / unattached Azure Managed Disks / orphaned GCP Persistent Disks. These accumulate when engineers terminate instances but forget to delete the attached storage. They bill at the provisioned size whether attached or not. A single 1 TB gp3 EBS volume costs $80 per month sitting idle.
Idle Elastic IPs / unused static IPs. AWS charges $3.65/month for every Elastic IP not attached to a running instance. Small per-unit cost, but organizations with hundreds of dangling IPs spend thousands annually on addresses pointing at nothing.
Load balancers with zero healthy targets. An Application Load Balancer running with no backend targets costs approximately $16/month plus hourly charges. Find them with:
aws elbv2 describe-target-healthand look for target groups returning zero healthy instances.Stopped instances with expensive attached resources. A stopped EC2 instance does not bill for compute, but its attached EBS volumes, Elastic IPs, and associated snapshots continue billing. If an instance has been stopped for more than 30 days, it likely should be terminated entirely with its resources cleaned up.
# Find all unattached EBS volumes in an AWS account
aws ec2 describe-volumes   --filters Name=status,Values=available   --query "Volumes[*].{ID:VolumeId,Size:Size,Type:VolumeType,Created:CreateTime}"   --output table
Repeat equivalent queries across Azure and GCP. Document everything you find and delete in a spreadsheet — you will need this data to report initial savings to leadership.
Non-Production Environment Assessment
Check whether development, staging, QA, and sandbox environments run 24/7. In most organizations they do, despite being used only during business hours. A dev environment costing $5,000/month that runs continuously but could run on a business-hours schedule (12 hours/day, 5 days/week) saves roughly $3,200/month — a 65% reduction — with zero impact on engineering productivity.
For Week 1, document the non-production environments and their monthly cost. Implementation of scheduling comes in Week 2 after you have established the automation. For now, if any environments are clearly abandoned — nobody has logged into them in 30+ days — shut them down immediately after confirming with the owning team via Slack message. A 48-hour response window is reasonable. No response after 48 hours means nobody cares about that environment.
Weeks 2–4: Building Baseline Visibility
With the immediate bleeding stopped, the next three weeks focus on building the cost visibility infrastructure that every subsequent optimization depends on. You cannot rightsize what you cannot measure. You cannot allocate what you cannot tag. You cannot forecast what you cannot trend.
Consolidated Cost Dashboard
Aggregate billing data from every cloud provider into a single view. For organizations spending under $100K/month across one or two cloud providers, the native tools — AWS Cost Explorer, Azure Cost Management, GCP Billing Console — may suffice initially. For multi-cloud environments or spend above $200K/month, a commercial FinOps platform like CloudAtler's Financial Command Center pays for itself within the first billing cycle through the visibility it provides.
Your dashboard should answer five questions at a glance:
What is our total cloud spend this month compared to last month?
Which teams or business units drive the most spend?
Which cloud services drive the most spend?
What percentage of compute is covered by commitments?
Are there any anomalous spend spikes in the last 7 days?
Tagging Foundation
Define your mandatory tagging taxonomy. Keep it minimal to maximize adoption speed. Three required tags are sufficient for initial visibility:
Tag Key | Purpose | Example Values |
|---|---|---|
| Cost ownership | platform, data-eng, ml-team, frontend |
| Lifecycle stage | production, staging, development, sandbox |
| Financial mapping | CC-1001, CC-2045 |
Apply these tags retroactively to existing resources using automated tagging scripts. Enforce them on new resources using policy-as-code. The Cloud Tagging Strategy guide covers enforcement mechanisms in detail. For Week 2–4, focus on reaching 70% tagging coverage — enough to make your cost allocation directionally useful even if not perfect.
Anomaly Alerting
Set up cost anomaly alerts before you need them. AWS Cost Anomaly Detection is free and requires minimal configuration. Azure Cost Management alerts trigger on budget thresholds. Configure alerts at two levels: account-wide anomalies exceeding 20% of the 7-day rolling average, and per-team anomalies exceeding 30% of their trailing average. Route alerts to a dedicated Slack channel where the FinOps function and engineering leads can see them in real time.
Weeks 4–6: Forming the FinOps Function
By week four, you have eliminated obvious waste, established baseline visibility, and started tagging. Now formalize the FinOps function — even if it is a single person initially.
At organizations spending $200K to $1M per month on cloud, a single FinOps practitioner reporting to the VP of Engineering or CTO is the typical starting point. This person needs a unique skill blend: comfortable reading cloud billing APIs, fluent in infrastructure architecture concepts, and capable of presenting financial data to executives who do not speak cloud.
If you cannot hire immediately, designate an existing engineer with strong analytical skills as the interim FinOps lead. Allocate at least 50% of their time to the role. Anything less and it becomes a side project that gets deprioritized whenever a production incident demands attention — which is always.
Key actions for the FinOps function during these two weeks:
Schedule the first FinOps steering committee meeting. Invite engineering leadership, the finance business partner covering infrastructure budget, and at least one product leader. Present the findings from Weeks 1–4: initial waste eliminated, current spend breakdown by team, tagging coverage status, and identified optimization opportunities.
Establish a weekly optimization review cadence. Thirty minutes every Monday morning reviewing the cost dashboard, acting on anomaly alerts from the previous week, and assigning optimization tasks to engineering teams. This cadence is the heartbeat of the FinOps practice.
Build the optimization backlog. Catalog every identified savings opportunity with estimated dollar impact, effort required, risk level, and assigned owner. Prioritize by impact-to-effort ratio. The cloud cost optimization checklist provides a structured framework for building this backlog.
Weeks 6–10: Structured Optimization
With visibility established and a functioning FinOps process in place, weeks 6 through 10 focus on executing the optimization backlog systematically. Attack optimization in order of risk — lowest risk first.
Layer 1: Idle Resource Elimination (Low Risk)
Revisit the idle resource sweep from Week 1, this time with better tagging data. Identify resources tagged as belonging to teams that no longer exist, projects that have been completed, or environments that have been superseded. Automate ongoing idle detection using multi-resource detection to prevent waste from reaccumulating.
Layer 2: Environment Scheduling (Low Risk)
Implement automated start/stop schedules for non-production environments identified in Week 1. Use AWS Instance Scheduler, Azure Automation, or custom Cloud Functions on GCP. Extend scheduling to RDS instances, EKS/AKS/GKE development clusters, and other stateful services that support clean shutdown and restart.
Layer 3: Rightsizing (Moderate Risk)
With 30+ days of utilization data now available from the monitoring established in Weeks 2–4, run a rightsizing analysis across all compute resources. Start with instances showing peak utilization below 20% over the full observation period. Resize one size down, observe for a week, then proceed to the next batch. Never resize production instances during business hours on the first attempt — use maintenance windows until you have confidence in the process.
Layer 4: Commitment Purchases (Moderate Risk)
Analyze 30–60 days of compute usage data to identify stable workloads suitable for commitment-based pricing. Start conservatively — purchase commitments covering only 40–50% of your clearly stable compute baseline. You can increase coverage in subsequent purchasing cycles as your understanding of workload stability improves. The Reserved Instances and Savings Plans guide covers the specific purchasing strategies for each provider.
Getting Executive Buy-In with Real Numbers
Executive support is the oxygen that keeps a FinOps program alive. Without it, engineering teams deprioritize cost optimization in favor of feature delivery, budget for FinOps tooling gets cut, and the program withers. Securing buy-in requires speaking the language executives understand: financial impact, business risk, and competitive advantage.
Present three data points at the executive level:
Savings already realized. The idle resource cleanup, environment scheduling, and initial rightsizing from Weeks 1–10 have already saved real dollars. Quantify them precisely — "$47,000 in monthly run-rate savings identified and implemented in 10 weeks" is a compelling statement.
Savings remaining on the table. Show the optimization backlog with estimated monthly impact. "Our analysis identifies an additional $120,000 in monthly savings through commitment purchases and architecture optimization" creates urgency to continue investing in the program.
Cost of inaction. Project cloud spend forward 12 months at current growth rates without optimization. Compare that projection to the optimized forecast. The gap represents money the organization will waste if the FinOps program is defunded or deprioritized.
For detailed financial modeling frameworks, the FinOps ROI analysis guide provides templates that translate operational metrics into executive-ready presentations.
Choosing Your First FinOps Tools
Tooling decisions during the first 90 days should prioritize speed of deployment over feature completeness. You need tools that work within days, not tools that require months of integration before delivering value.
For single-cloud AWS environments under $500K monthly spend, start with native tools: Cost Explorer for visualization, Budgets for alerting, Trusted Advisor for optimization recommendations, and Compute Optimizer for rightsizing analysis. These are free or included with existing support plans.
For multi-cloud environments or spend above $500K monthly, invest in a FinOps automation platform early. The time saved on manual data aggregation and normalization across providers pays for the platform subscription within the first month. Look for platforms that provide multi-cloud billing aggregation, automated anomaly detection, commitment management, and integration with your existing workflow tools (Slack, Jira, ServiceNow).
Avoid the temptation to build custom tooling during the first 90 days. Internal tools take months to build, require ongoing maintenance, and divert engineering attention from the optimization work that produces actual savings. Build versus buy decisions for FinOps tooling almost always favor buying at the initial stage and reconsidering once the program is mature enough to have specialized requirements that commercial tools cannot address.
Weeks 10–12: Building Sustainable Cadence
The final two weeks of the 90-day plan focus on transitioning from crisis response to operational rhythm. The urgency of the initial bill shock is fading. Savings are being reported. Leadership attention is shifting back to product delivery. This is the most dangerous period for a new FinOps program because the perceived crisis has passed while the operational discipline has not yet become habit.
Codify these recurring activities into your team's operating rhythm:
Daily: Review anomaly alerts (5 minutes — automated alerts, human review)
Weekly: Monday cost review meeting (30 minutes), idle resource check
Monthly: Commitment coverage review, rightsizing analysis refresh, steering committee report
Quarterly: Comprehensive optimization review including architecture-level changes, commitment renewal planning, budget forecast update
Document these cadences and assign specific owners for each. When someone goes on vacation, their cost review responsibilities transfer to a named backup — not to "the team" generally, which means nobody specifically.
First-90-Day Mistakes to Avoid
Having watched dozens of organizations navigate their first FinOps implementation, these mistakes appear with frustrating regularity:
Buying a platform before understanding your data. If you purchase a FinOps platform in Week 1, you will configure it based on assumptions rather than evidence. Spend at least two weeks with native tools understanding your billing data structure, tagging gaps, and organizational chart before selecting a platform that matches your actual needs.
Optimizing without safety margins. Rightsizing every instance to its exact observed peak leaves zero headroom for traffic spikes, batch processing bursts, or deployment surges. Always maintain 20–30% headroom above observed peaks when rightsizing production workloads.
Promising specific savings numbers before completing analysis. Telling the CFO "we will save $500K this year" before you understand your commitment options, workload stability, and architecture constraints creates expectations that may not be achievable. Promise a process and a timeline for savings identification. Report actual savings as they are realized.
Focusing exclusively on compute. Compute is the largest line item on most cloud bills, but it is not the only one. Storage, networking, data transfer, managed database services, and support costs all deserve attention. The Cloud Cost Optimization playbook covers each category systematically.
Working in isolation. A FinOps practitioner who identifies $200K in savings but cannot get engineering teams to implement the changes has identified nothing. Build relationships with engineering team leads from Week 1. Co-own the savings targets. Make optimization a collaborative effort rather than a mandate from the cost team.
Key Takeaway
Starting FinOps from zero is a 90-day structured effort: triage obvious waste in Week 1, build visibility in Weeks 2–4, form the FinOps function in Weeks 4–6, execute systematic optimization in Weeks 6–10, and establish sustainable operational cadence in Weeks 10–12. Move fast on quick wins to build organizational credibility, but invest equally in the foundational practices — tagging, dashboards, processes — that prevent waste from regenerating after the initial cleanup sprint.
All in One Place
Atler Pilot decodes your cloud spend story by bringing monitoring, automation, and intelligent insights together for faster and better cloud operations.